A Student’s Guide to LUT
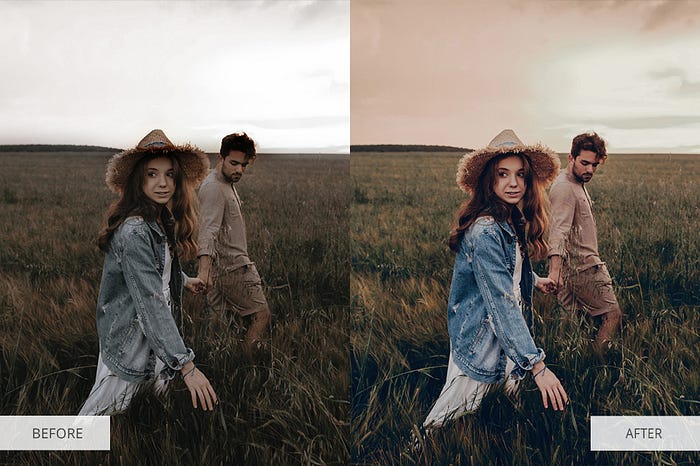
For the love of Lut, we can all post confidently on our Instagram stories thanks to the color correcting tool LUT or short for a lookup table. This sounds super intimidating but I can assure you this tool can be easily configured and easily applied.
LUT is a color grading tool that can be applied to any video or image, giving this footage a specific visual feeling. For AR, use your live camera feed and apply a fixed set of values (RGB) the output being the desired color filter for your video. It’s basically a set of instructions that remap pixel values that will remap your original footage into the desired look.
There are 2 kinds of LUTS, 1D, and 3D:
1D LUT
This kind of LUT is simple and is not as complex compared to 3D LUTS. 1D LUTS have one input and one output value, this means they have limited color control. For example, a pixel has a specific value and by adding the LUT, the value will be converted into the corresponding value on the lookup table.
1D LUTS work on a single axis, starting from black to white. Using 1D LUTs will change your luminance value. 1D LUTS are basically used to change the contrast or brightness.
3D LUT
3D LUTS is a bit more complex and gives you more control of tones and saturation. This kind of LUT is represented as a cube that has an x,y, z-axis.
Summary
You can easily download a preset lookup table from the internet or create your own using photo editing software such as Photoshop or Affinity. Of course, you could make changes to film or photo manually using color-correcting software but with a LUT you could speed up your process by dragging and drop
